New chocolate mold commission recently completed for Mesalands Community College.
The process for this commission was quite extensive and fun but required quite a few pieces of software and hardware to be completed.
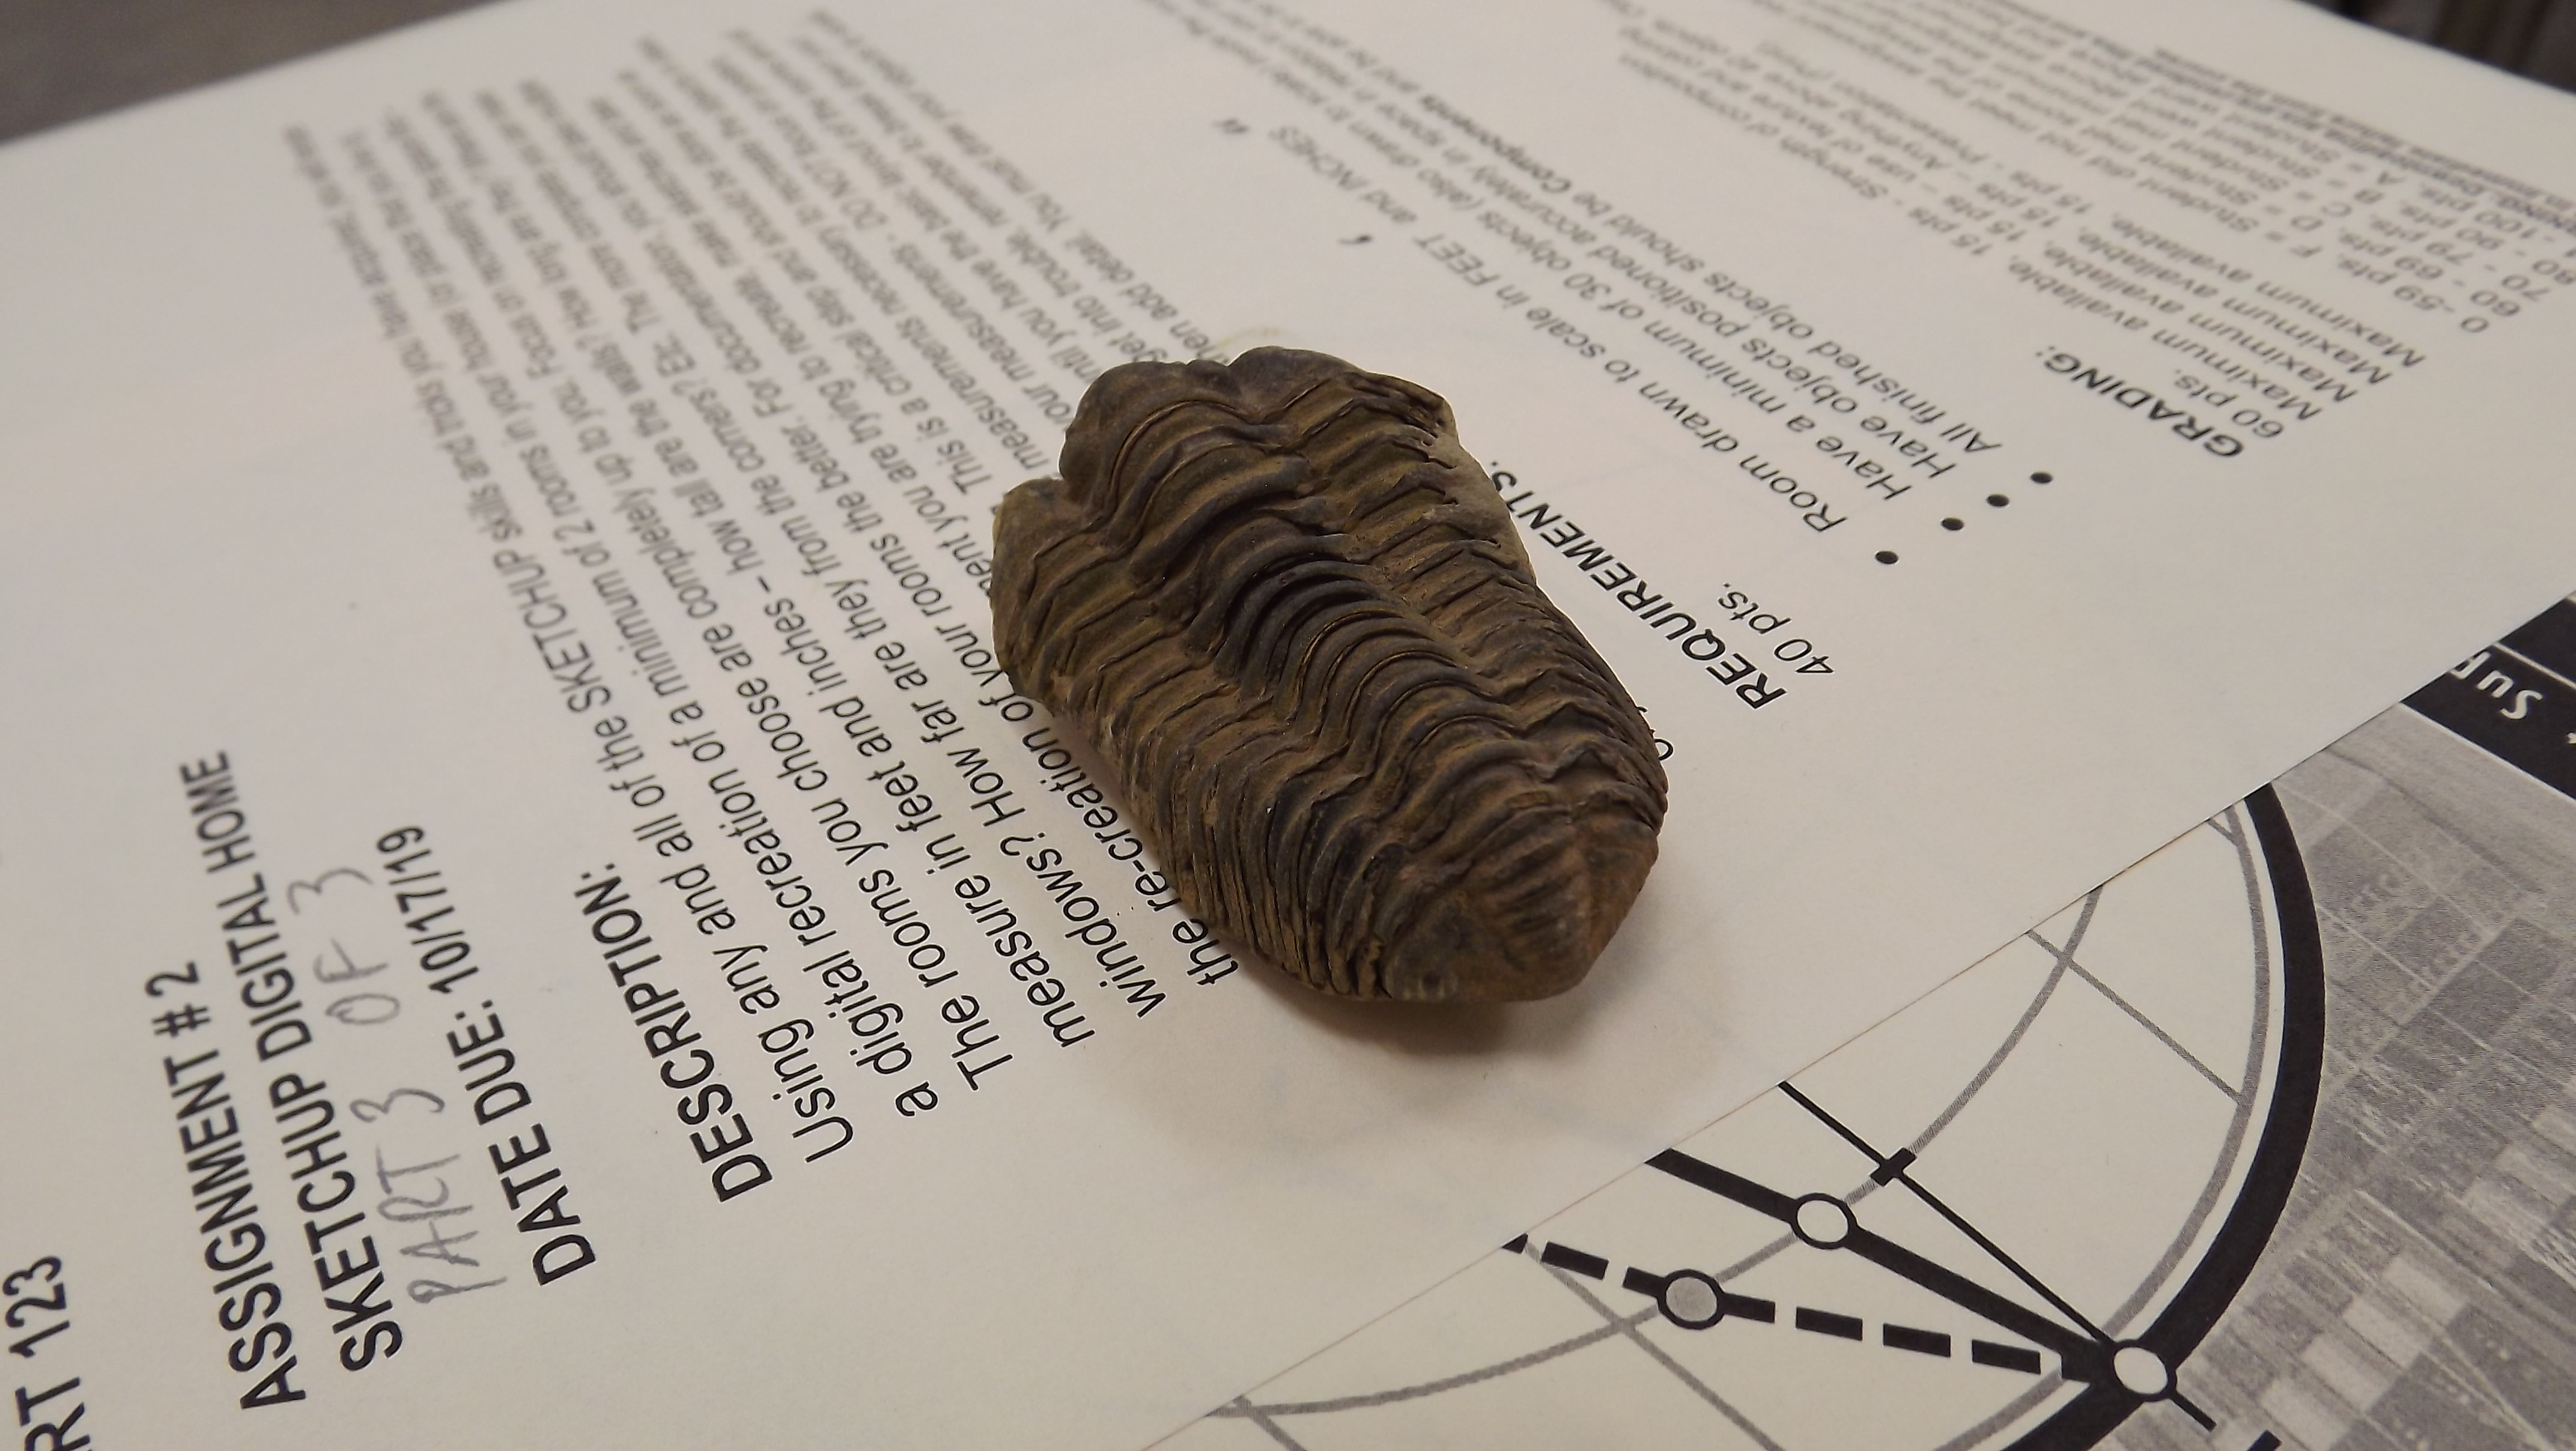
The initial process involved scanning a select group of fossils from the school’s own Dinosaur museum. Some were original, some were plaster copies. I was initially planning to use an old 3D scanner we had in our shop but that fell through when I opened the box and seemed to be missing some parts and the software license code was nowhere to be found.
Luckily in 2019 there are a myriad of tools available to scan objects in 3D for free so long as you own a camera. After initial documentation of 30 or so images of each object, I uploaded the photos into the free to use photogrametry software ZEPHYR.
The software requires non glossy, multi angle images of the object, the object must be in frame in all shots for the software to recognize the object and properly build the topology.
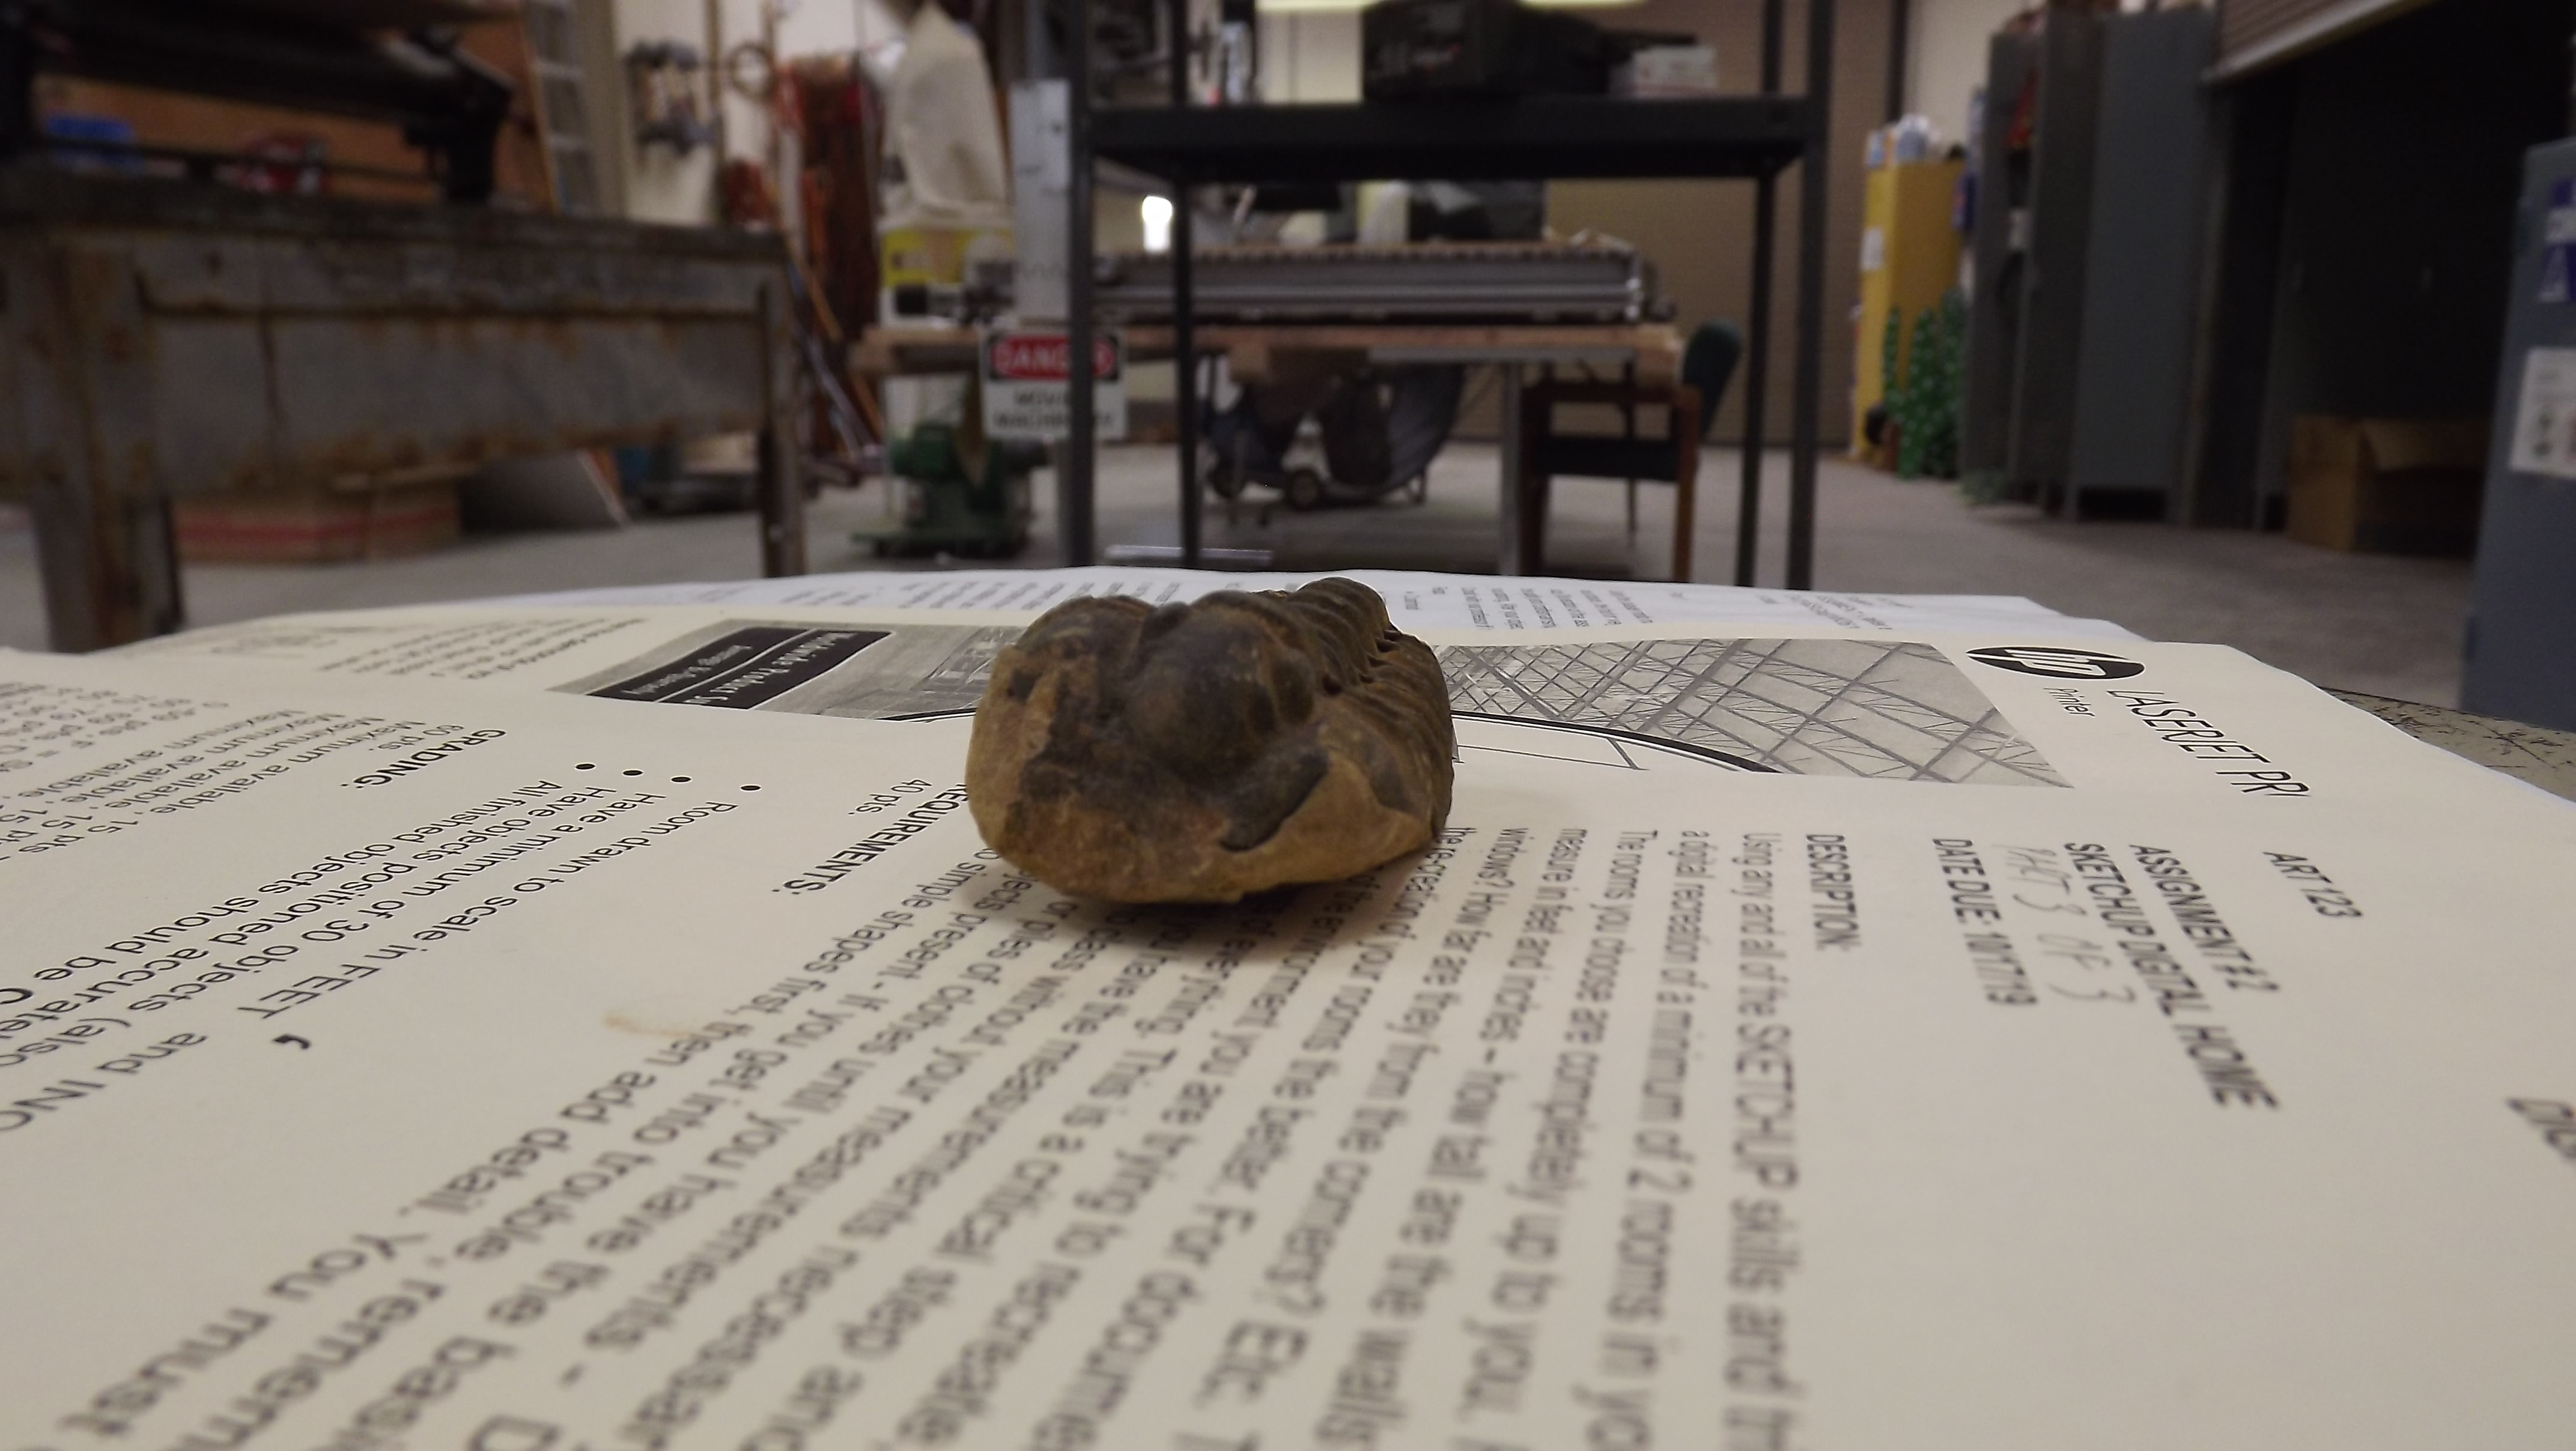
For best results, the software requires photos at different height angles all around the object. The software also requires that the space the photographs are taken in to be fluid and non sterile, meaning, the busier the image is the easier time the software has to produce the object in frame. This was confirmed by first placing the object on a white board, and taking pictures, the software failed to recognize the movement of the form and could not process the images for 3D conversion. That is why i place the object on a sheet of paper with text.
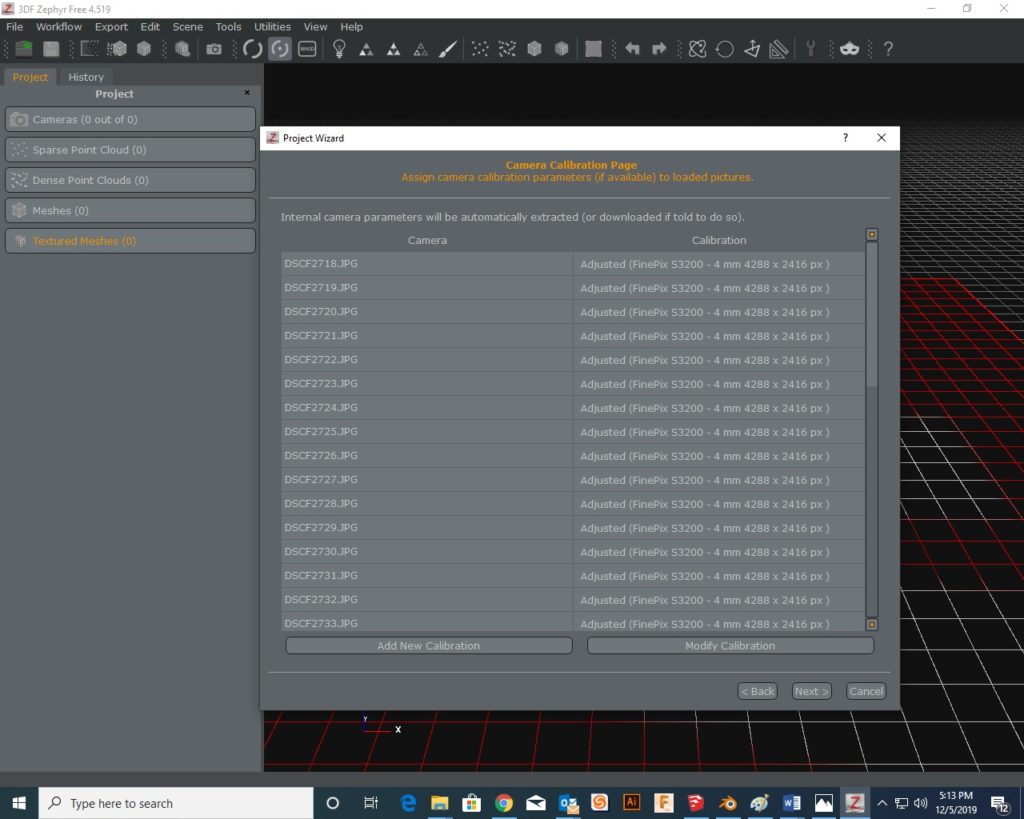
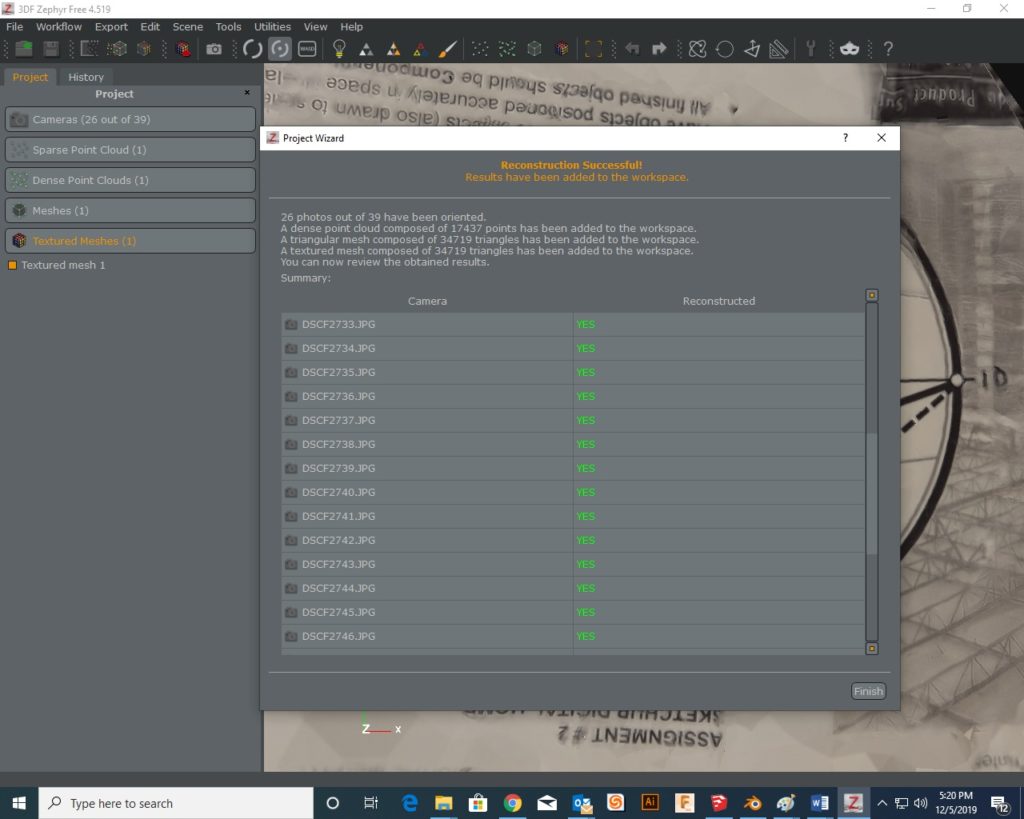
Once completed the software shows you the model as a 3D object and you can actually see what angles the images were taken at. The software is so crazy powerful that it also recreated the sheet of paper it was laying on, textured it and is fully legible.
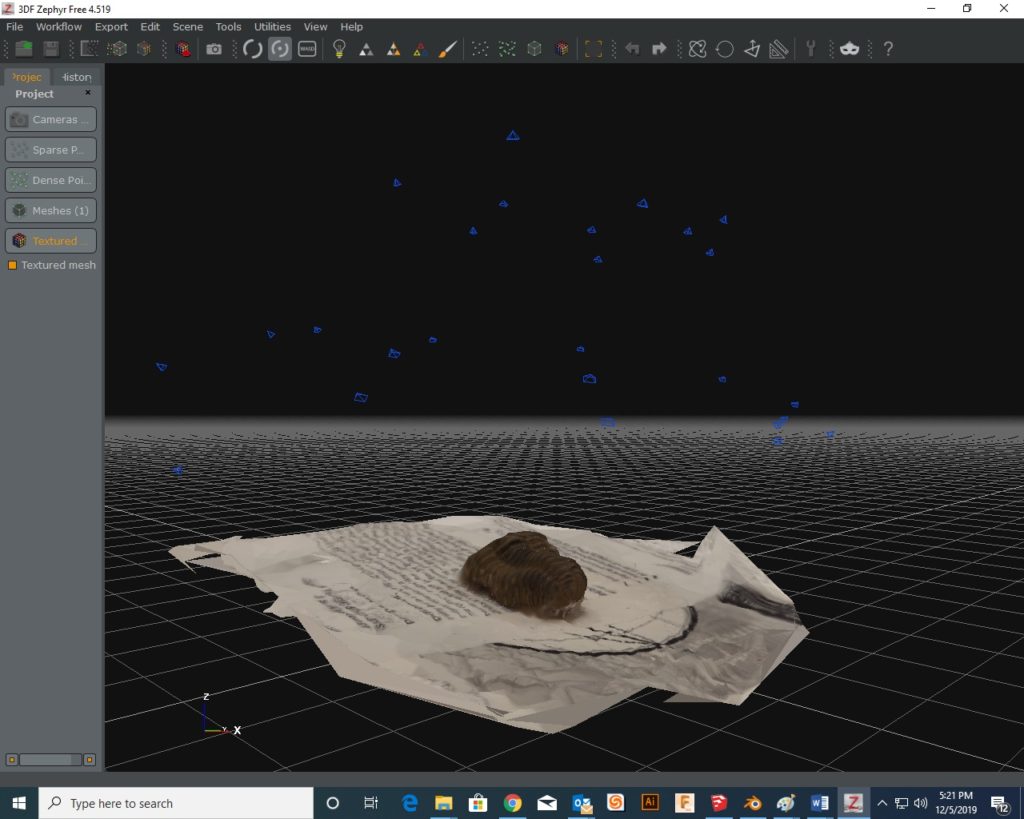
Once the images were transformed into a single mesh, I removed the object from the background and from the sheet of paper it was laying on. All of which can be done within ZEPHYR which is nice.
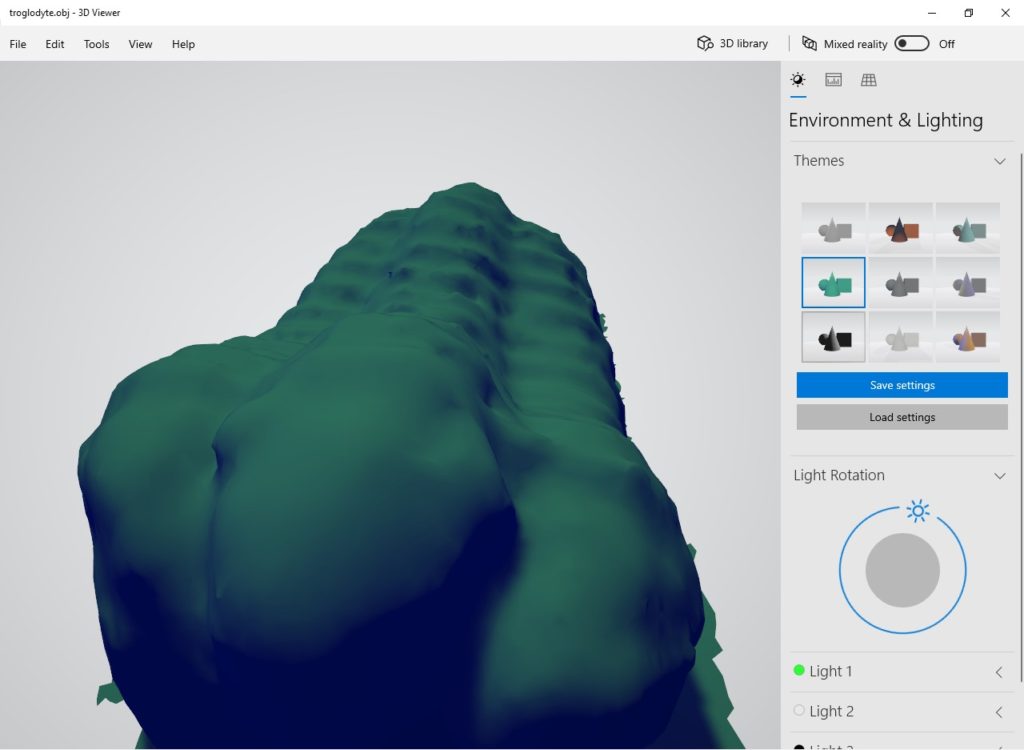
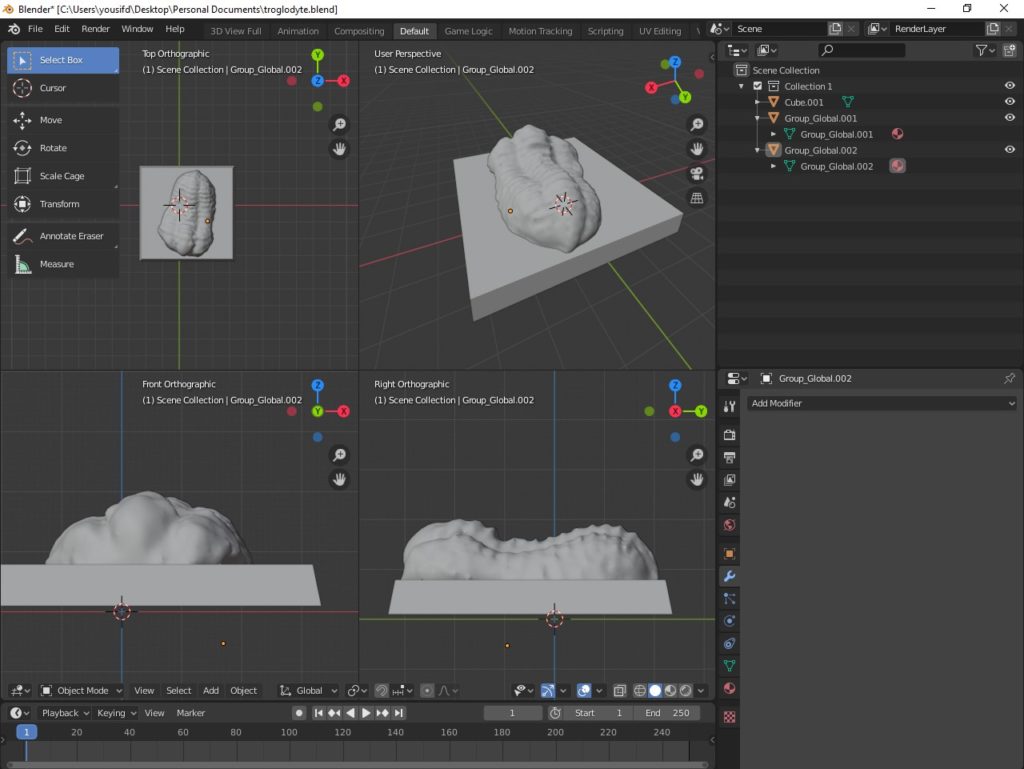
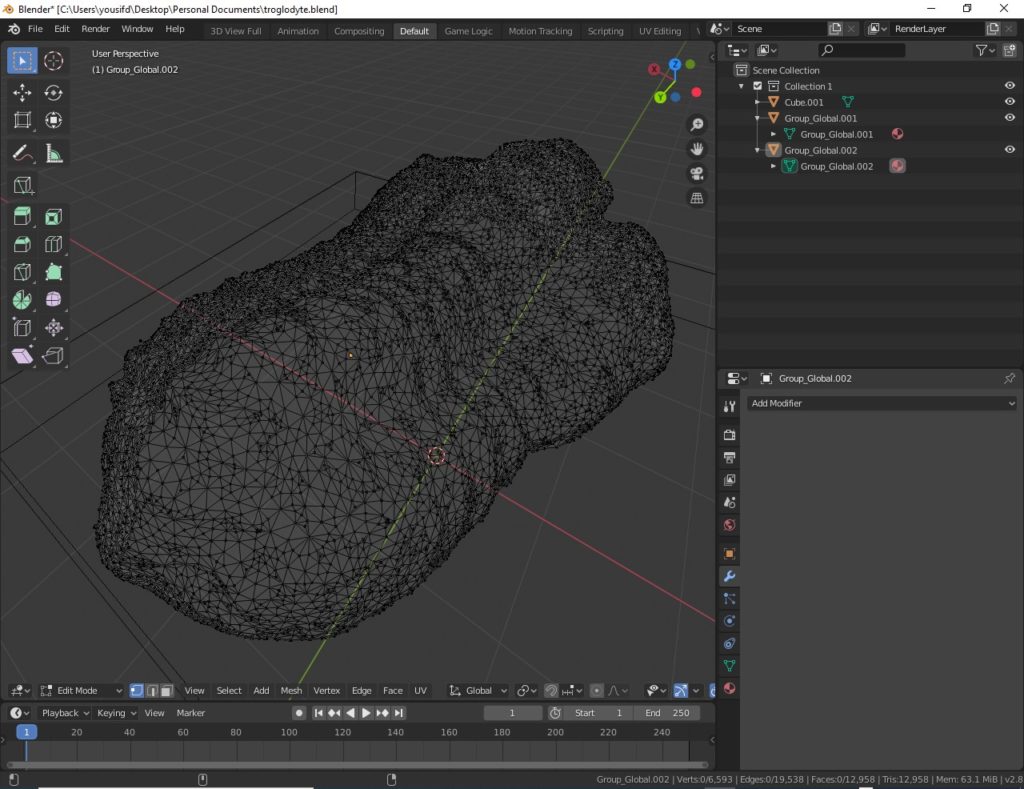
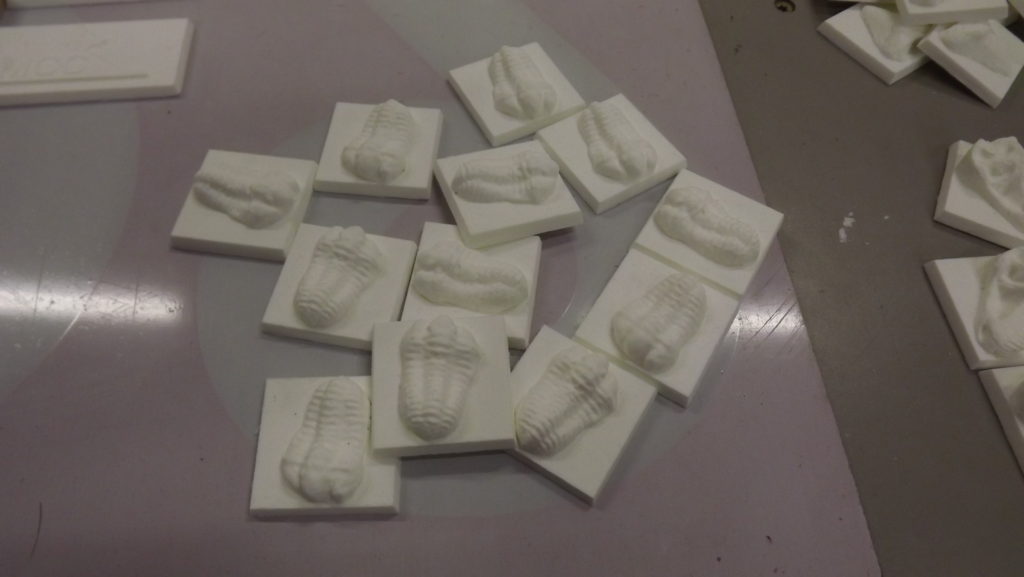
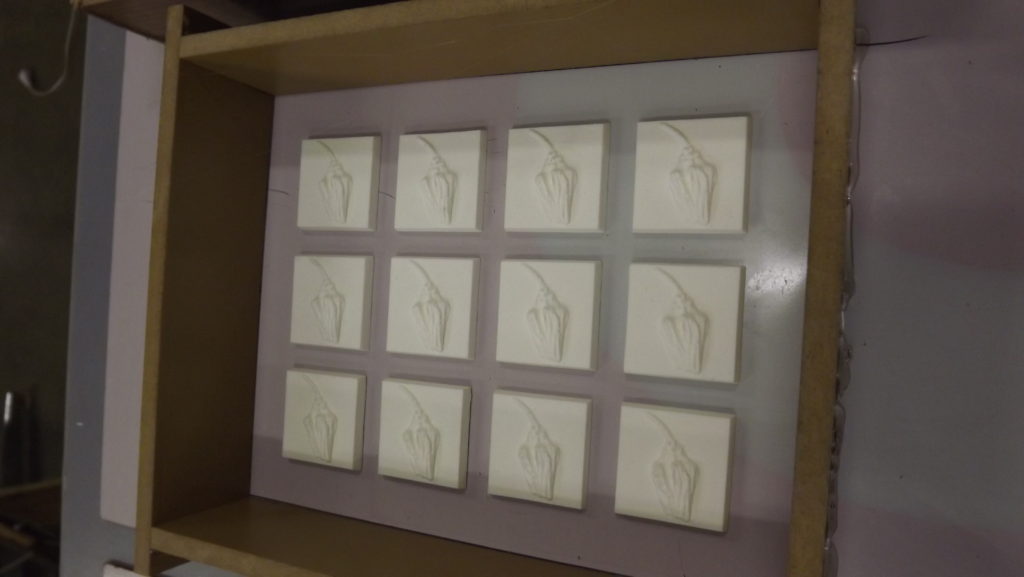
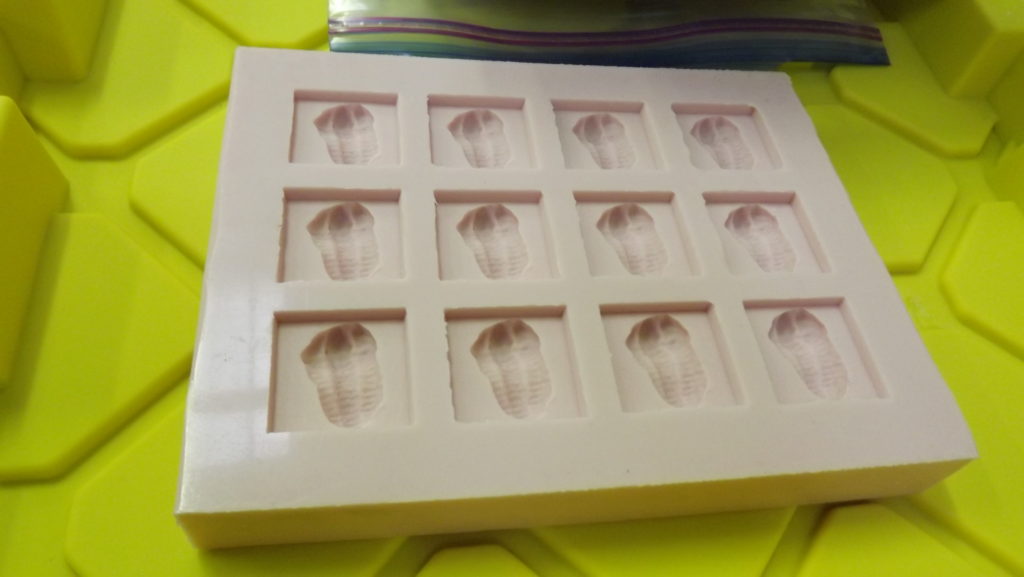
The object was then exported as an obj and is now visible in any 3D viewing software. From there, the obj was imported into the free 3D modeling software Blender and added to a thin four sided slab, which would be the chocolate base. The slab is aproximately 1.5″ on each side. Once the mesh was imported into Blender I had the ability to shrink the object to a size that fit into the slab. The original trilobite in the images is approximately 2″ in length. This was shrunken to about half that size to fit inside the slab.
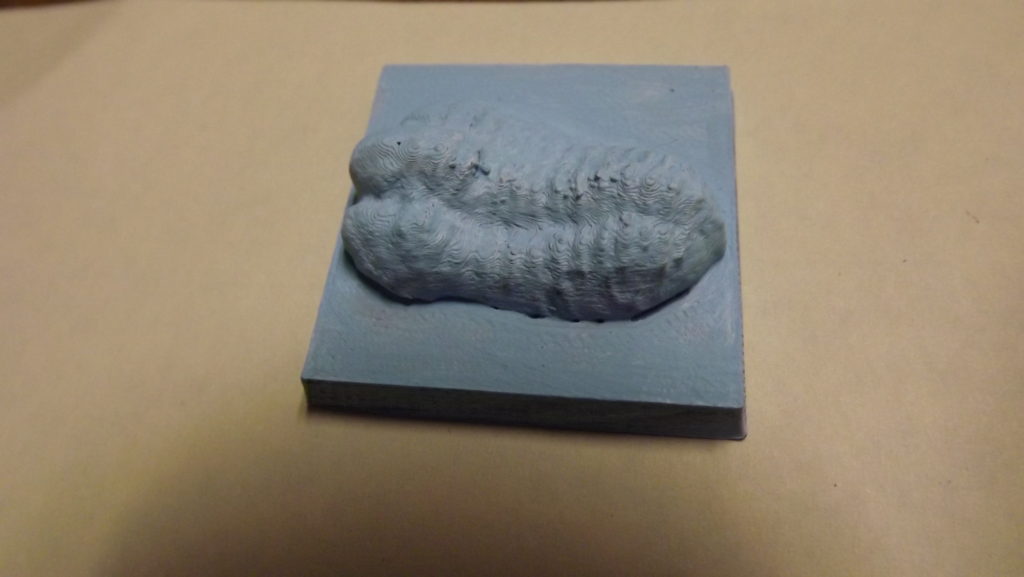
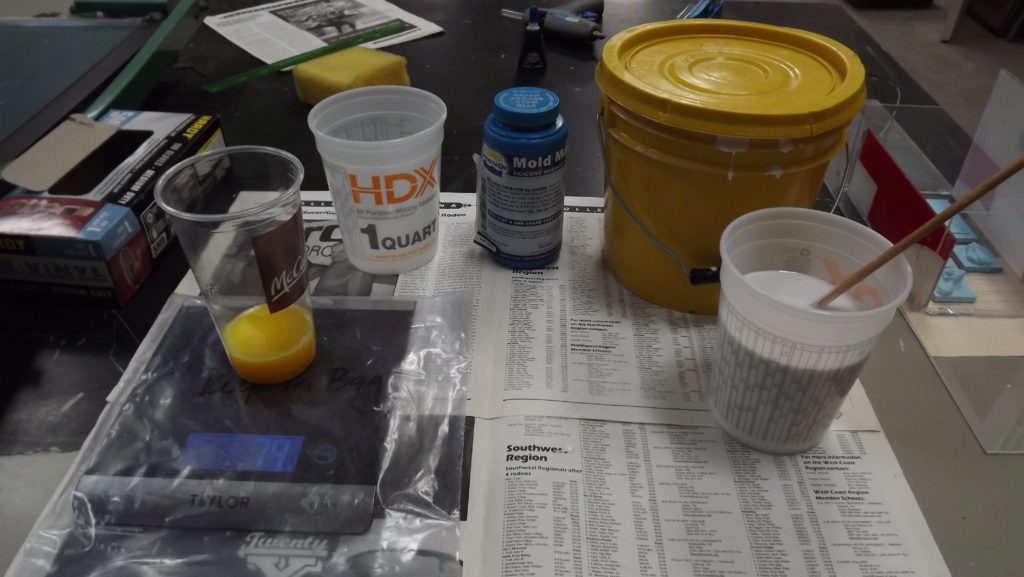
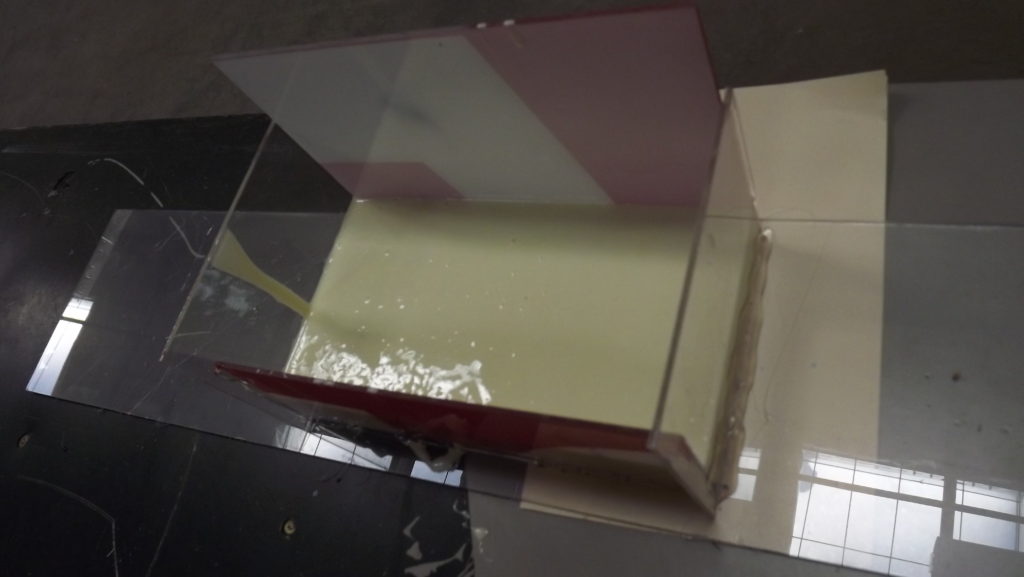
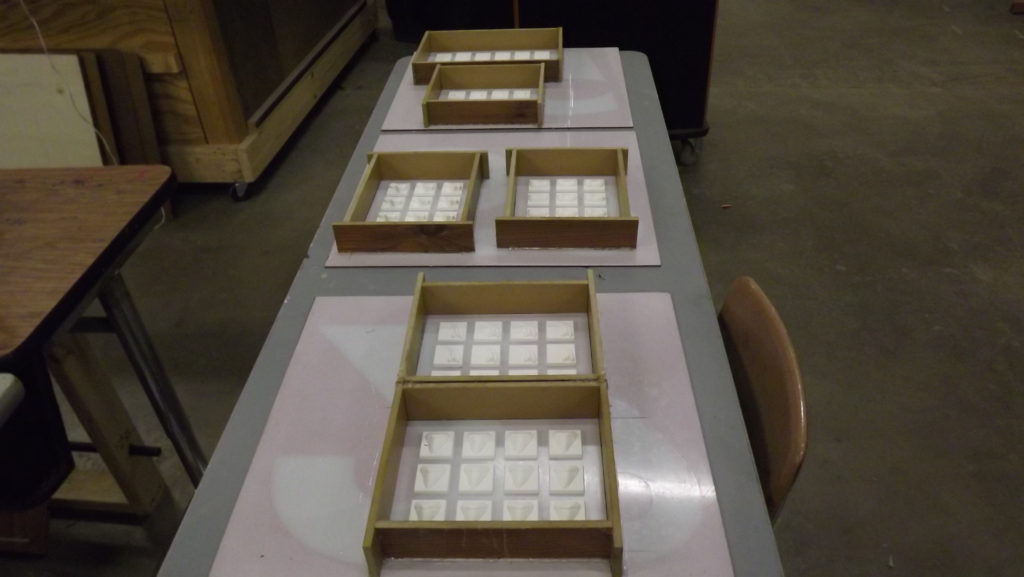
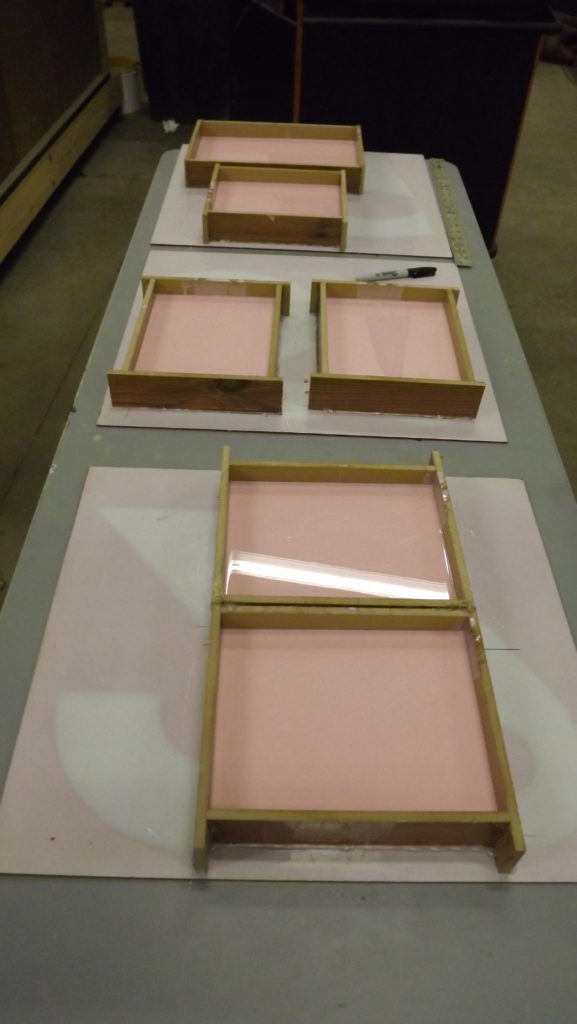
The next step in the process was to 3D print the models in order to make molds and duplicate the objects in resin to create the chocolate mold sheet patterns. This required a few things, first, I had to slice the mesh in the free software program Cura in order to prepare the file for 3D printing. I then had to order food grade silicone to make the molds as well as a vacuum degasser to process the silicone before pouring. The silicone used for the mold making process is so dense it is very hard to stir or move, if air is trapped within the silicone it does not have a chance to escape the mold before it sets and you usually end up with voids in your mold. So the degassing process was critical .
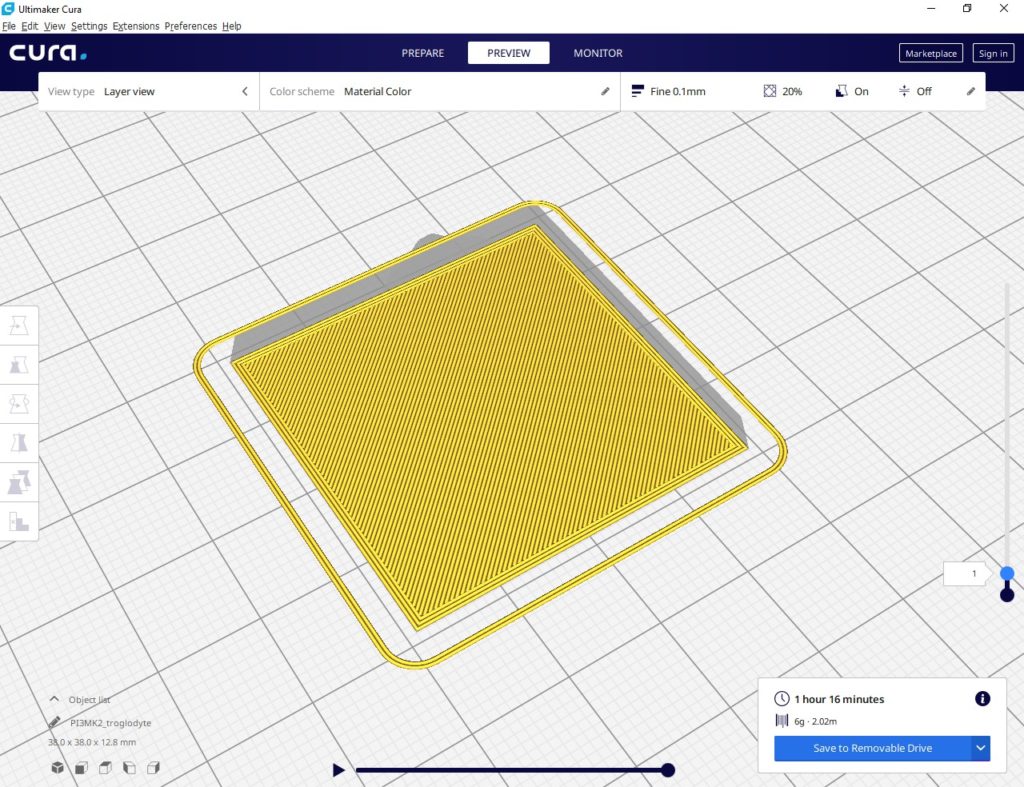
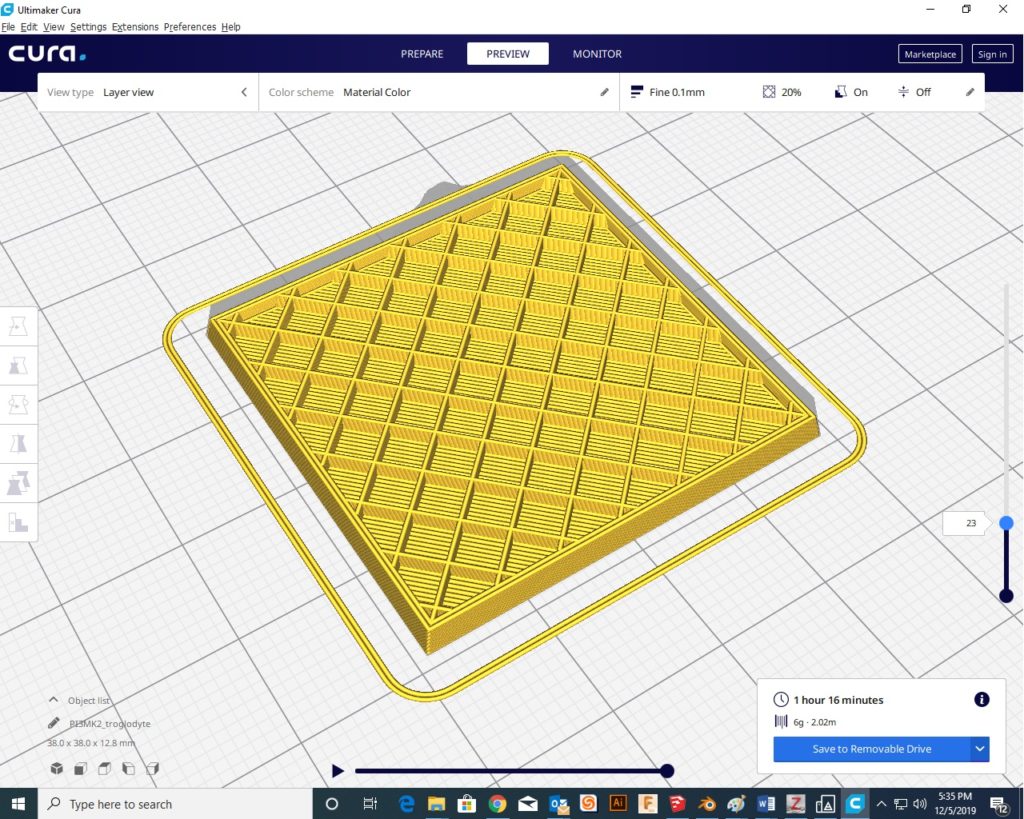
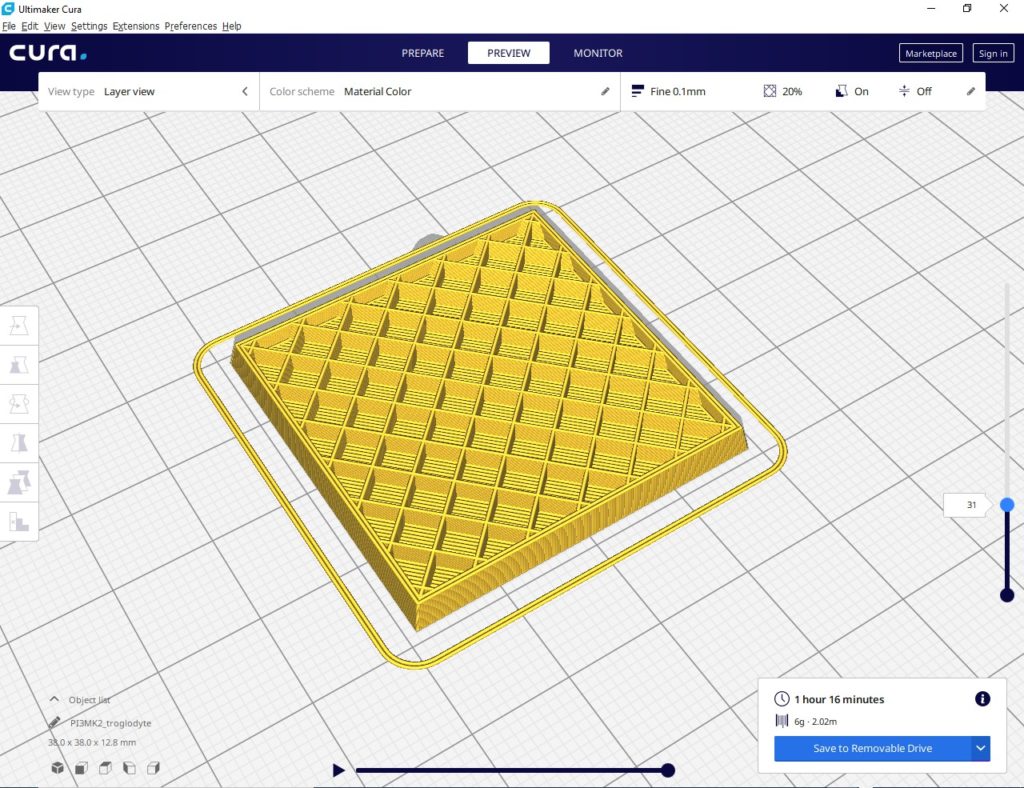
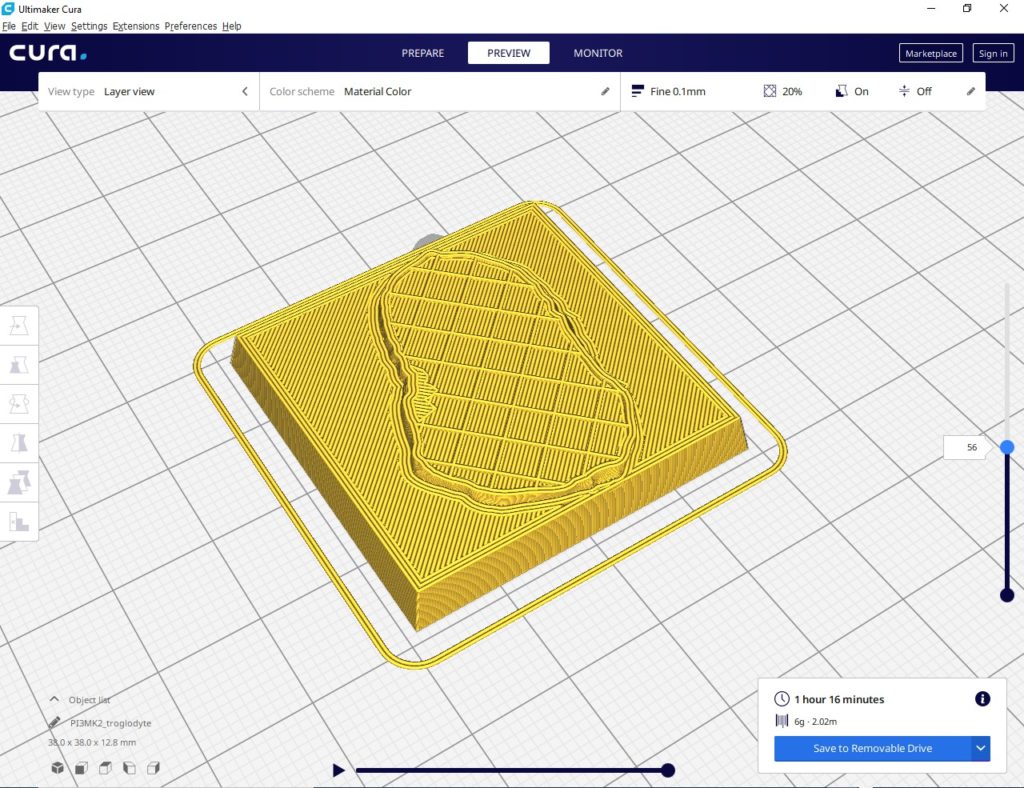
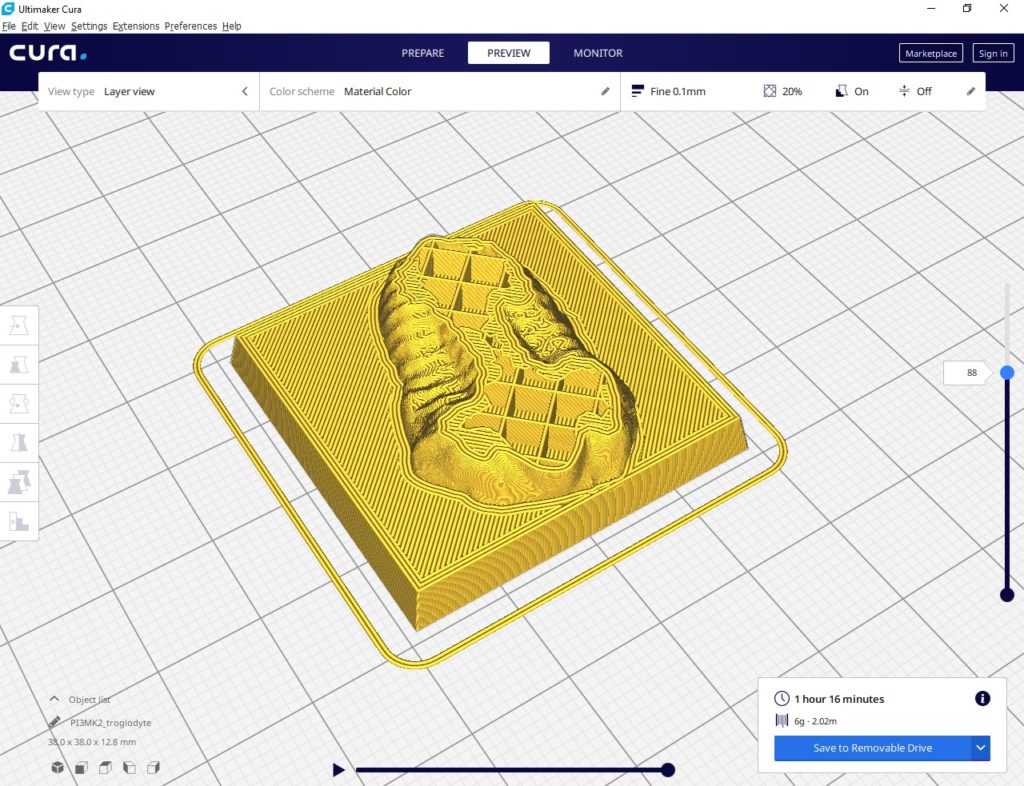
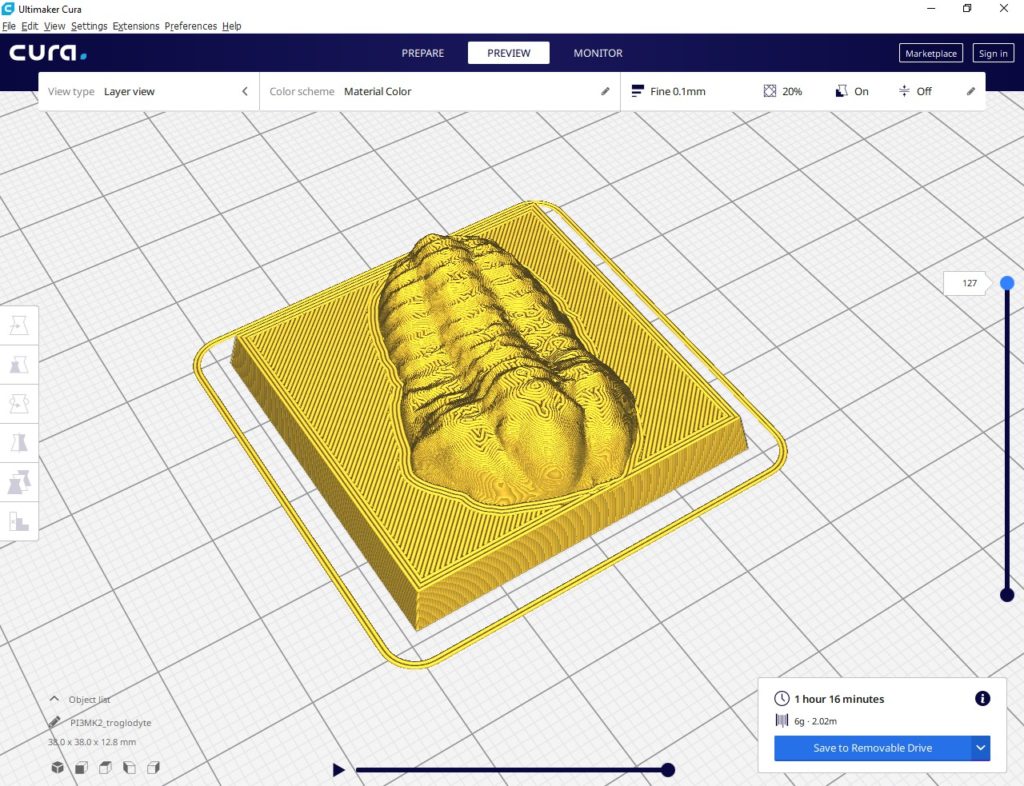
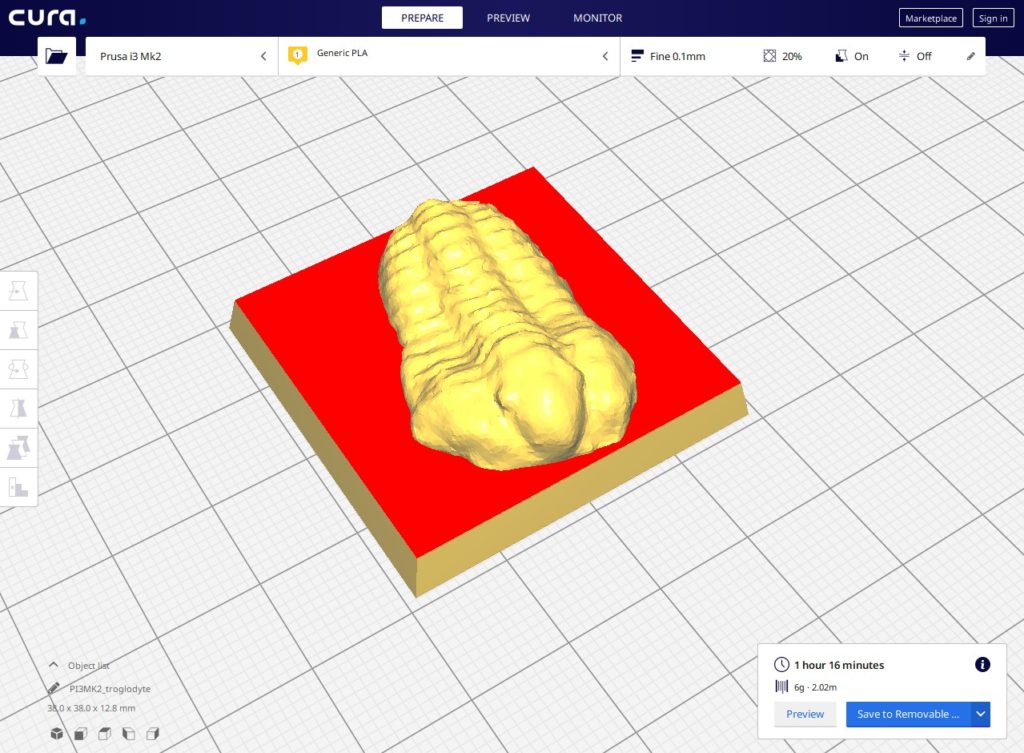
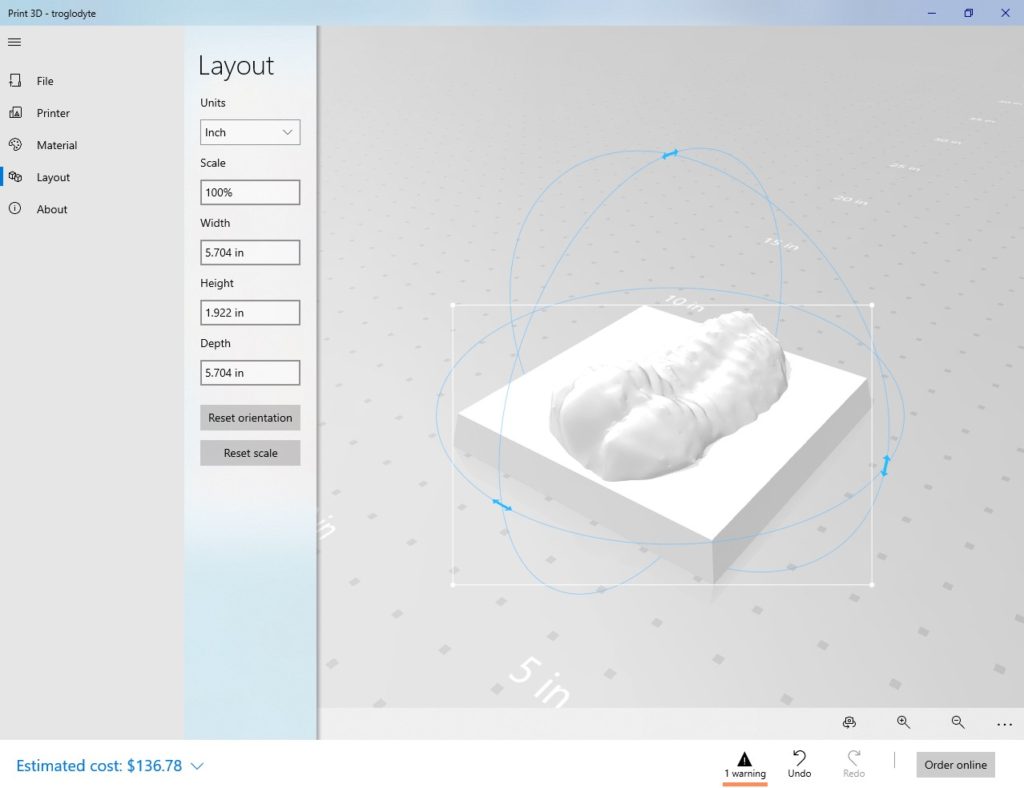
Once sliced, I configured the printer settings to achive the best print possible. I used the Monoprice Select V2 3D printer, which I believe is a clone of a similar sized Prusa model.
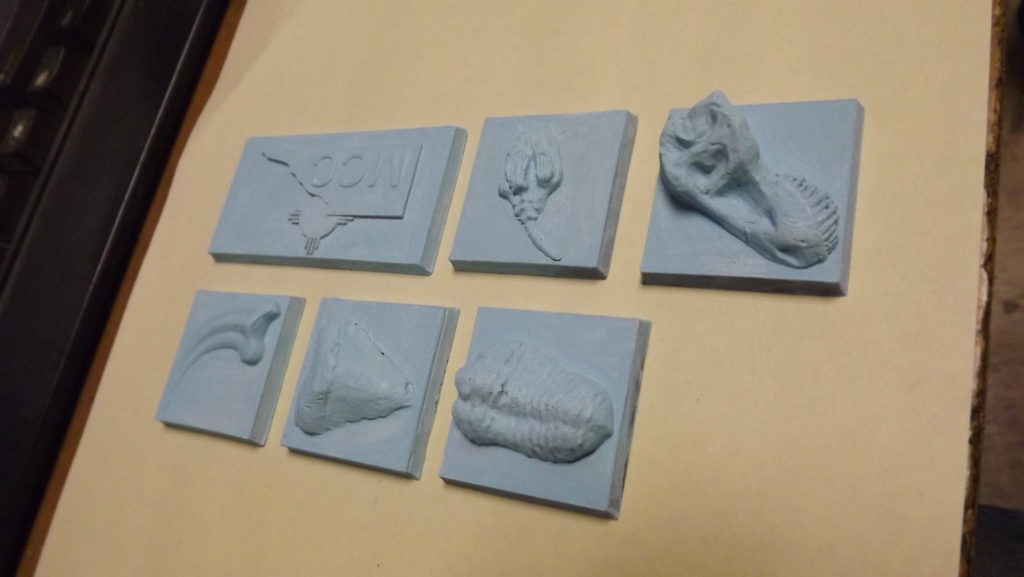
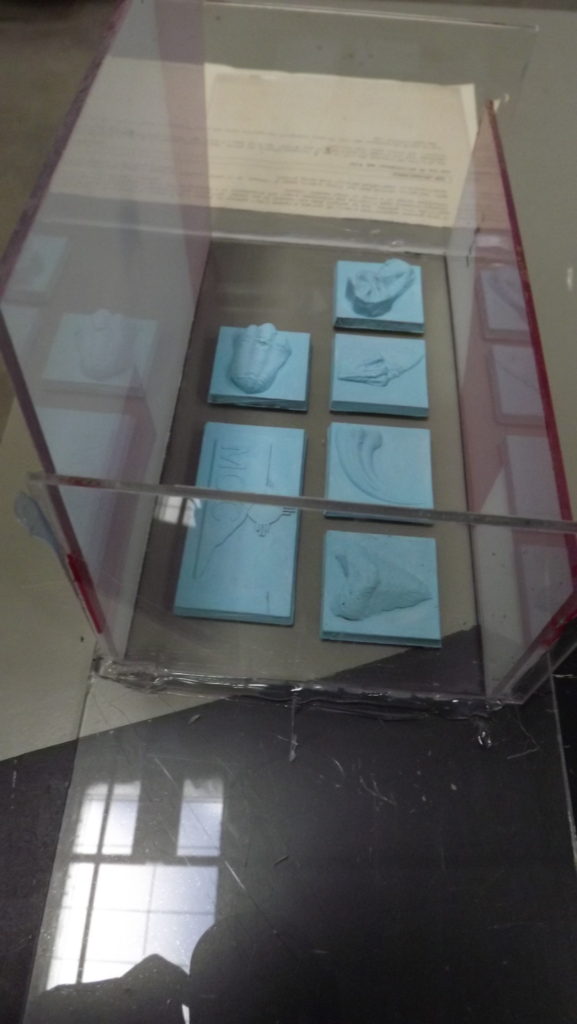
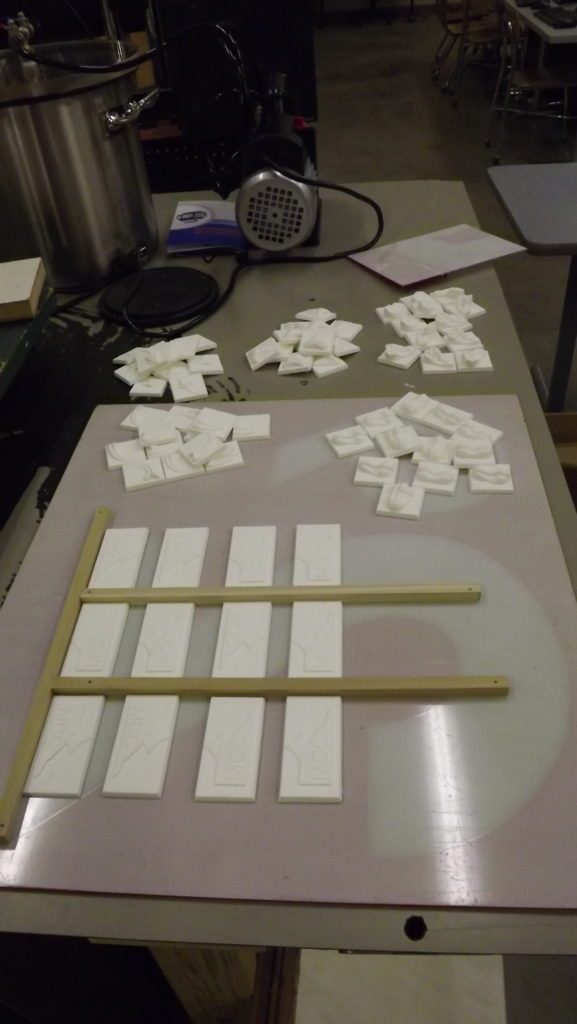
The next step involved repetitive measuring and layout work. I don’t obsess over mold layout but I wanted the molds to be neat and organized to make the chocolate pouring process easier.

The final step in the process is to pour the chocolates into the mold, allow them to cool, then eat them. Unfortunately I am no chocolatier or have the slightest clue as to how to prepare pourable chocolate for molds. Hopefully I can see and taste the final product when it is finished.
Links to the software and hardware used:
 Follow